For those of you who haven't gotten the memo, the husband and I are expecting. And right quick and in a hurry too. Alexander's due date is March 20th, but at this point I'm hoping to land right on the day... I know its typical that it doesn't happen that way. But I want Alex to have his own day, and there are so many birthday's at the end of February, in March, and at the beginning of April. I have to share my birthday, and have had to share many birthday parties for years with my cousin, my sister (two days after mine) and I just want him to never have to experience the sharing of a cake, or attention. Its just unfair. I know I sound selfish, but as his mother I'm supposed to only want the best for him. Alex's room is filled with animals. From wall clings to pictures to other artsy projects. For today's project, we're tackling those cute little letters that are infamous in any nursery.

To buy finished letters like this, from eBay you'll spend like $10+ each letter not to mention shipping charges. For Alexander's full name (a whopping 9 letters) with the painted animals and ribbons to hang it by, was just over $26 total.We didn't want just introduce only jungle theme to Alex, so we chose to get all different kinds of animals for his name. Only two or three of the letters actually have a corresponding animal, like A=alligator or E=elephant, but there isn't an X animal... at least not a pre-made one.
Start off with wooden letters. Ours our actually made of cheap pine, bought individually, at about $1.99 each.
$AVINGS TIP: Use leftover wood from another project, or buy cheap pine from your local hardware store and cut (or have someone cut) out the letters for you. You can also get more customized in the "font" of your letters that way. We chose standard block letters because this was a spur of the moment project. Look over your letters carefully and check for any chips that may need sanded.
After repairing any of these marks, stain or paint the letters... Don't be afraid to get creative with the letters. Feel free to give them texture or even patterns. We chose to just stain ours so that they would match the wood look of the rest of his room. We also didn't want anything that clashed with the animals. We bought some pre-painted animals from the local hobby store. Each animal was only about 60 cents a piece, but they were already painted which saved us time-wise.
$AVINGS TIP: You can buy unpainted animals and customize them to your liking. However remember that you will have to supply ALL the different paint colors. So if you don't have all the colors you want then you won't save any money by getting the unpainted ones.
Don't want animals? Should you decide you want a different theme for your nursery, or child's room, I have seen these pre-painted wooden pieces in animals, pirate-themed pieces, princess-themed, even just standard shapes. To attach the animals/wooden shapes, you simply use some hot glue and attach the shapes along the solid pieces of wood (as opposed to the open areas of the letters).
$AVINGS TIP: Don't want to establish a theme? Simply skip the wooden pieces and paint a crazy pattern! Just be careful you don't overdo it.
For the ribbon, since there were no zebras or giraffes on the letters themselves we chose the ribbons that were that pattern. I would recommend not using sheer ribbon if you choose to attach the ribbon with hot glue also. I found that it doesn't stick as well (glue goes through the ribbon). Using a staple gun will attach the ribbon more securely to the wooden letter. You can do loops like we did, or you can create a bow at the top or other materials (rope/twine) to fasten them to the wall.
$AVINGS TIP: You can skip adding ribbon or hanging materials, as most of the prefabricated letters have pre-drilled holes in the backs of them. However, I find them to look slightly unfinished.
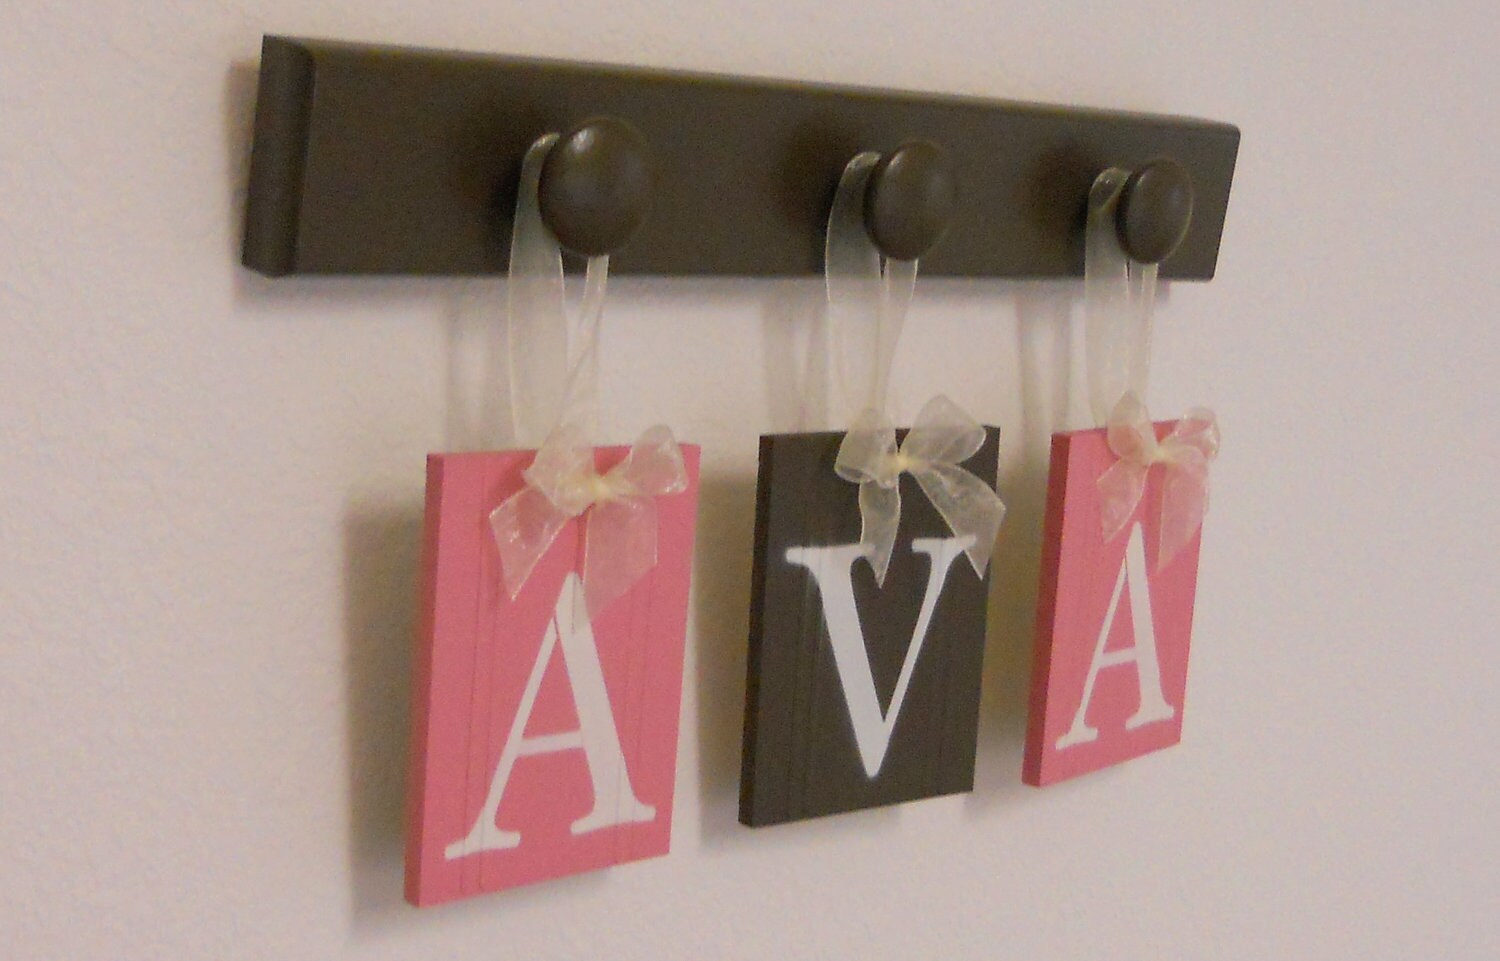
Don't want to drill all those holes into the freshly painted walls? There are other options to that. You can simply hang a coat rack (typically available with three or five hooks) and loops the letters over that.
Or have too many letters and not much space? Use initials! You can also get the letters to look like plaques and hang them that way.
How to finish the look? As you can tell, with Alexander's, we just arched it along the back of his crib. His crib has a lump in the back (similar to a camel.... a future idea perhaps?) so we followed the arch and hung the letters. We then finished it off with a couple of wall clings under it and a picture from his great-grandma to his dad (at his dad's baptism). However, some people create an entire ambiance with these letters. I think that the fabric on the wall really finishes the look for this particular infant... Doesn't mean we'll do it for Alex's room, mainly because his room doesn't have the architecture that this room does, but it really does something for this particular name.
Think this is a great idea but don't have the baby on the way? Or a child's room you want to decorate anymore? You can make these letters for all sorts of occasions!


 To buy finished letters like this, from eBay you'll spend like $10+ each letter not to mention shipping charges. For Alexander's full name (a whopping 9 letters) with the painted animals and ribbons to hang it by, was just over $26 total.We didn't want just introduce only jungle theme to Alex, so we chose to get all different kinds of animals for his name. Only two or three of the letters actually have a corresponding animal, like A=alligator or E=elephant, but there isn't an X animal... at least not a pre-made one.



No comments:
Post a Comment